Christmas Tuesday!

Another Christmas Tuesday has arrived and another card is here for your enjoyment. Sending Tiding of Comfort and Joy to someone in a few months.

Christmas Card 2 WM.JPG

Here’s a close up on an angle to show you the dimension of the embossing folder, the ribbon and and lift from the dimensionals. Again, the products aren’t necessarily available from Stampin Up anymore, but the card layout is easy to replicate.

Christmas Card 2 ACU WM.JPG

I hope this card inspires you to make one just like it whether it’s an early Christmas card for you or a fun valentines card…you choose.

Keep it crafty friends!

Keep it crafty friends!

Birthdays are the best days!

Hello Crafty Friends!

Here’s a fun birthday card using my favorite stamp set from Stampin’ Up…Beautiful Friendship. I’m not a girly-girl but I absolutely love this stamp set. I made this card as a part of the a card class. I love that you can make your own floral combination. You will see more of this stamp set in future projects!

5FEA5BB5-74F0-41B7-AE65-D9B7F73CFBBD.jpeg

Here’s a close up of the sentiments. It shows off the cool stitching in the die cutting of the paper with the sentiment as well as the texture of the embossing folder and bling - don’t forget the bling!

151DFF95-FB21-4186-A001-8E11A7DFD055.jpeg

Supplies I have used for this card:

Stamps: Beautiful Friendship

Dies: Stitched Rectangle

Embellishments: Rhinestone Basic Jewels

Paper: Whisper White, Crumb Cake, Bermuda Bay, Old Olive

Ink: Bermuda Bay, Old Olive

Have a wonderful day!

Have a wonderful day!

Happy Birthday...celebrate with a refreshing drink!

I hope you enjoy this card. It’s never to early to start getting your stash of birthday cards done. Here’s a cute adult birthday card. I hope this card inspires you. If you like Stampin’ Up and are interested in any of the products considering checking out my online store HERE. Otherwise, please know that you can always use what you already have to create something similar.

Consider decorating the inside of your envelopes with paper that coordinates with the card and/or stamps used on the card…

Consider decorating the inside of your envelopes with paper that coordinates with the card and/or stamps used on the card…

I just love what a few dimensionals can do to a card…

I just love what a few dimensionals can do to a card…

Don’t forget to decorate the inside of your cards when you get a chance. I little scrap of paper can make all the difference tying it all together…

Don’t forget to decorate the inside of your cards when you get a chance. I little scrap of paper can make all the difference tying it all together…

Supplies: (1) Stamps: Sip Sip Hooray, Sending You Thoughts. (2) Ink: Memento Black, So Saffron, Coastal Cabana. (3) Paper: Whisper White, Night of Navy, Birthday Bonanza Designer Series Paper (DSP). (4) Dies: Layered Circles.

Directions: Front of Card - (1) Use a piece of Whisper White cardstock for a A2 card base. (2) Cut Night of Navy cardstock to 4-1/8” x 5-3/8”. (3) Cut a piece of Birthday Bonanza DSP to 4” x 5-1/4”. (4) Layer Birthday Bonanza DSP on top of Night of Navy cardstock. (5) Attach the base layer (#4) to the white A2 card base. (6) Cut a piece of Night of Navy scrap to 1” x 5-3/8”. (7) Cut a piece of Birthday Bonanza DSP to 3/4” x 5-3/8”. (8) Attached the Birthday Bonanza DSP strip to the Night of Navy strip. (9) Attach the strip (#8 )to the bottom half of the card. (10) Use the Layered Circle dies circle (you choose the size) and corresponding scalloped circle to cut the plain circle with some Whisper White cardstock scrap and the scalloped circle in Night of Navy cardstock scraps. (11) Stamp the champagne and martini glasses to the white circle in Momento Black Ink. (12) Stamp the drinks liquid in So Saffron (champagne) and Coastal Cabana (martini). (13) Stamp the “Happy Birthday” sentiment inside the circle. (14) Layer the white stamped circle to the Night of Navy scalloped circle die and adhere to the card front with Stampin’ Dimensionals.

Directions: Inside of Card - (1) Copy the steps in #6, 7 and 8 above and adhere to the bottom of the inside of the card. (2) Stamp the sentiment (“Another Sensational Year of You”) in Momento Black Ink above the strip adhered in step #1.

Keep it crafty friends!

Keep it crafty friends!

I'll Drink to That!

Welcome to a new year at Tradefish Designs. I hope this #SimpleStamping project inspires you to start getting crafty for 2020.

Remember to consider stamping the front and/or back of your envelope to give the recipient a hint at what’s inside!

Remember to consider stamping the front and/or back of your envelope to give the recipient a hint at what’s inside!

Here is my first card of the year. I combine two stamp sets in a simply stamping (#SimpleStamping) project. I love have clean and clear it is…all the details are below (along with more fun photos).

Ill Drink to That Main.jpeg
Ill Drink to That Angle.jpeg
Ill Drink to That Inside w Env.jpeg
Ill Drink to That Inside CU.jpeg

I hope you’ve enjoyed my card. I have a photo of the stamp sets used below as well as a full list of supplies and directions to make the card yourself. I hope you all have a wonderful and craft new year!!!

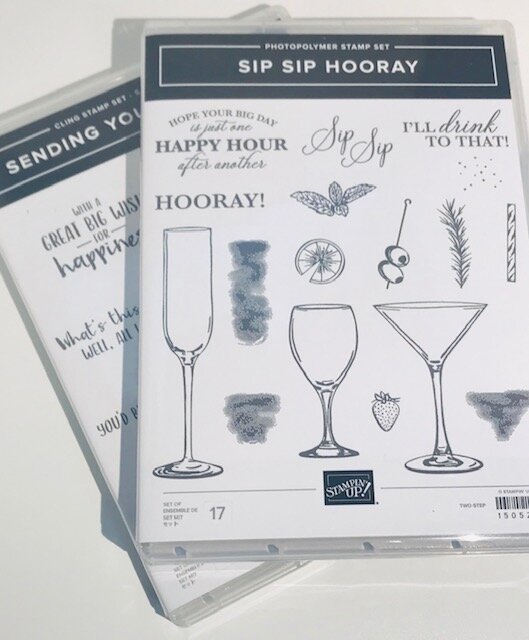
Ill Drink to That Stamps.jpeg

Supplies: (1) Stamps: Sip Sip Hooray (“I’ll Drink to That”), Sending You Thoughts (“Congratulations”). (2) Paper: Whisper White, Balmy Blue. (3) Ink: Momento Black, Balmy Blue, Pear Pizzazz. (4) Stampin’ Blends: Light Olive. (5) Dies: Sip Sip Hooray dies - olives on skewer. All the supplies used in this project are from Stampin’ Up. If you are interested in purchasing any of them feel free to shop at my STORE or reach out to me via email at tradefishdesigns@gmail.com.

Directions: Card Front - (1) Use a Whisper White A2 card base. (2) Cut Balmy Blue cardstock to 4-1/8” x 5-3/8”. (3) Cut Whisper White cardstock to 4”x5-1/4”. (4) Stamp martini glass, olive pick and sentiment in Momento Black Ink. (5) Stamp the drink liquid with Balmy Blue. (6) Stamp the greenery in Pear Pizzazz Ink. (7) Color the olives with light olive Stampin’ Blend. (8) Adhere what cardstock with stamped images to the Balmy Blue cardstock. (9) Adhere the white/balmy blue layers to the card base with Stampin’ Dimensionals.

Directions: Inside Card - (1) Stamp “Congratulations” inside the card with Moment Black Inc. (2) Stamp the olive skewer in Momento Black Ink on a scrap piece of paper. (3) Color the olives in using the Light Olive Stampin’ Blend marker. (4) Using a die cut machine, die cut the olives on a skewer with the dies that coordinate with the stamp set. (5) Adhere the olive die cut inside the card next to the sentiment.

Happy New Years Crafters!

Happy New Years Crafters!

May the warmth of Christmas fill each corner of your heart and home...

Hello Crafters,

I have a Christmas card that I made at a crop event at the beach in November. I make MANY Christmas cards each year. I make them for a charitable organization to thank large donors for their support throughout the year. I also design and make our family Christmas cards. Finally, I make an assortment of cards for my husband to distribute to his team at work. This year I also made an assortment of cards just for fun. This card is one of them…enjoy!

Christmas Card 3 WM.JPG

This card uses a bunch of my Stampin’ Up supplies. The stamp set is retired but if you want to recreate thes card design you can substitute any holiday sentiment you already have in your stamp stash. The designer paper is Night Before Christmas from the current Holiday Catalog. The Holiday Catalog is only good through January 2nd so it you see something you like please don’t wait to place an order!

Christmas Card 3 ACU WM.JPG

Here’s a close up at an angle so you can see the textures and dimension of the card. I hope you enjoy this simple card and come back tomorrow for another holiday card.

What Stampin’ Up products I used to make this card…

  1. Night Before Christmas Designer Series Paper

  2. Pretty Peacock Cardstock

  3. Mossy Meadow Cardstock

  4. Whisper White Cardstock (thick)

  5. Pretty Peacock Ink

  6. Braided Linen Trim

IF you want to purchase any of the items ABOVE please feel free to visit MY WEBSITE and use the following host code: 3XGZA7HB

If you place an order you can use the Host Code above in the Special Offers section of the shopping bag. Please only use this code if your order is under $150. If your order is above $150 you can select hostess benefits on your order.

Happy Crafting!

Happy Crafting!

Come Sail Away...

First project for quite a while. I’ve been out of crafty commission for months. New job and side hustle filled all the vacant space. Now I have made a few adjustments, cleaned my craft room and busted out a could of cards. Here’s the first one…

Set Sail card front WM.jpeg

Joined Stampin’ Up as a Demonstrator. It’s not the only product you’ll see on my blog because I really love it all but I will highlight the SU products when I use them.

Sailboat Main angle.jpeg

I will always try to take an angle shot so you can see the dimension in the project.

Sailboat main with envelope back.jpeg

I decorated the front and back of the envelope and the inside of the card as well but I forgot to take an inside pic.

Sailboat main with env liner.jpeg

I try to make a coordinating envelope where I can and use some coordinating paper to really tie it all together. It really makes a statement when the recipient opens the card and sees the matching look.

I don’t really have the dimensions here for you on this one. I did use the following supplies that you can buy on my Stampin’Up website - TradeFishDesigns.stampinup.net:

Sailing Home Cling Stamp Set

Come Sail Away Designer Paper

Night of Navy Ink & Paper

Mossy Meadow Paper

Layering Square Dies

I hope you enjoyed this card. Come back soon for another fun project.

Koi Fish from logo.png

Gift Card Holder

Hello,

Today's post is a card that holds a gift card I made recently for our son. The goal was to create a card that would open up to display a gift card as a surprise. No real reason other than to send him a small treat. I used the paper and complements called Fresh Air from Close to My Heart (now retired). I just wanted to share a fun idea I found in a video tutorial I received from Crafter's Companion when I purchased a score board. Here's the front of the card.

Fresh Air Gift Card Holder (CC tutorial) cover.jpg

Here's the inside of the card without the gift card. Our son loves being outdoors so I thought this paper and stamp set was perfect.

Fresh Air Gift Card Holder (CC tutorial) Inside wo GC.JPG

I've added a few angled views to show you the dimension I achieved and to give you a different perspective.

Fresh Air Gift Card Holder (CC tutorial) inside angle 1.JPG
Fresh Air Gift Card Holder (CC tutorial) inside angle 2.JPG

Here's a photo showing you where the gift card will sit. As soon as you open up the card the gift card pops up. 

Fresh Air Gift Card Holder (CC tutorial) inside with GC.JPG
Fresh Air Gift Card Holder (CC tutorial) inside angle with GC.JPG

I hope you enjoyed my project today. Here is a link to another (simpler) gift card holder style that I found on Crafter's Companion's UK website.

If you want to make sure and see future posts, please make sure you subscribe on the home page. Have a wonderful day paper crafters! 

Koi Fish from logo.png

Happy Birthday to You ("Made from the Heart" with scraps!)

Here's a card I made one afternoon using up some fun scraps I had from a retired paper pack. I'm sure you all know what it's like to hoard those fun bits of paper from a group of papers you will miss. Well, I needed a birthday card and wanted to use those bright and cheerful bits of paper.

Card - main photo.jpg

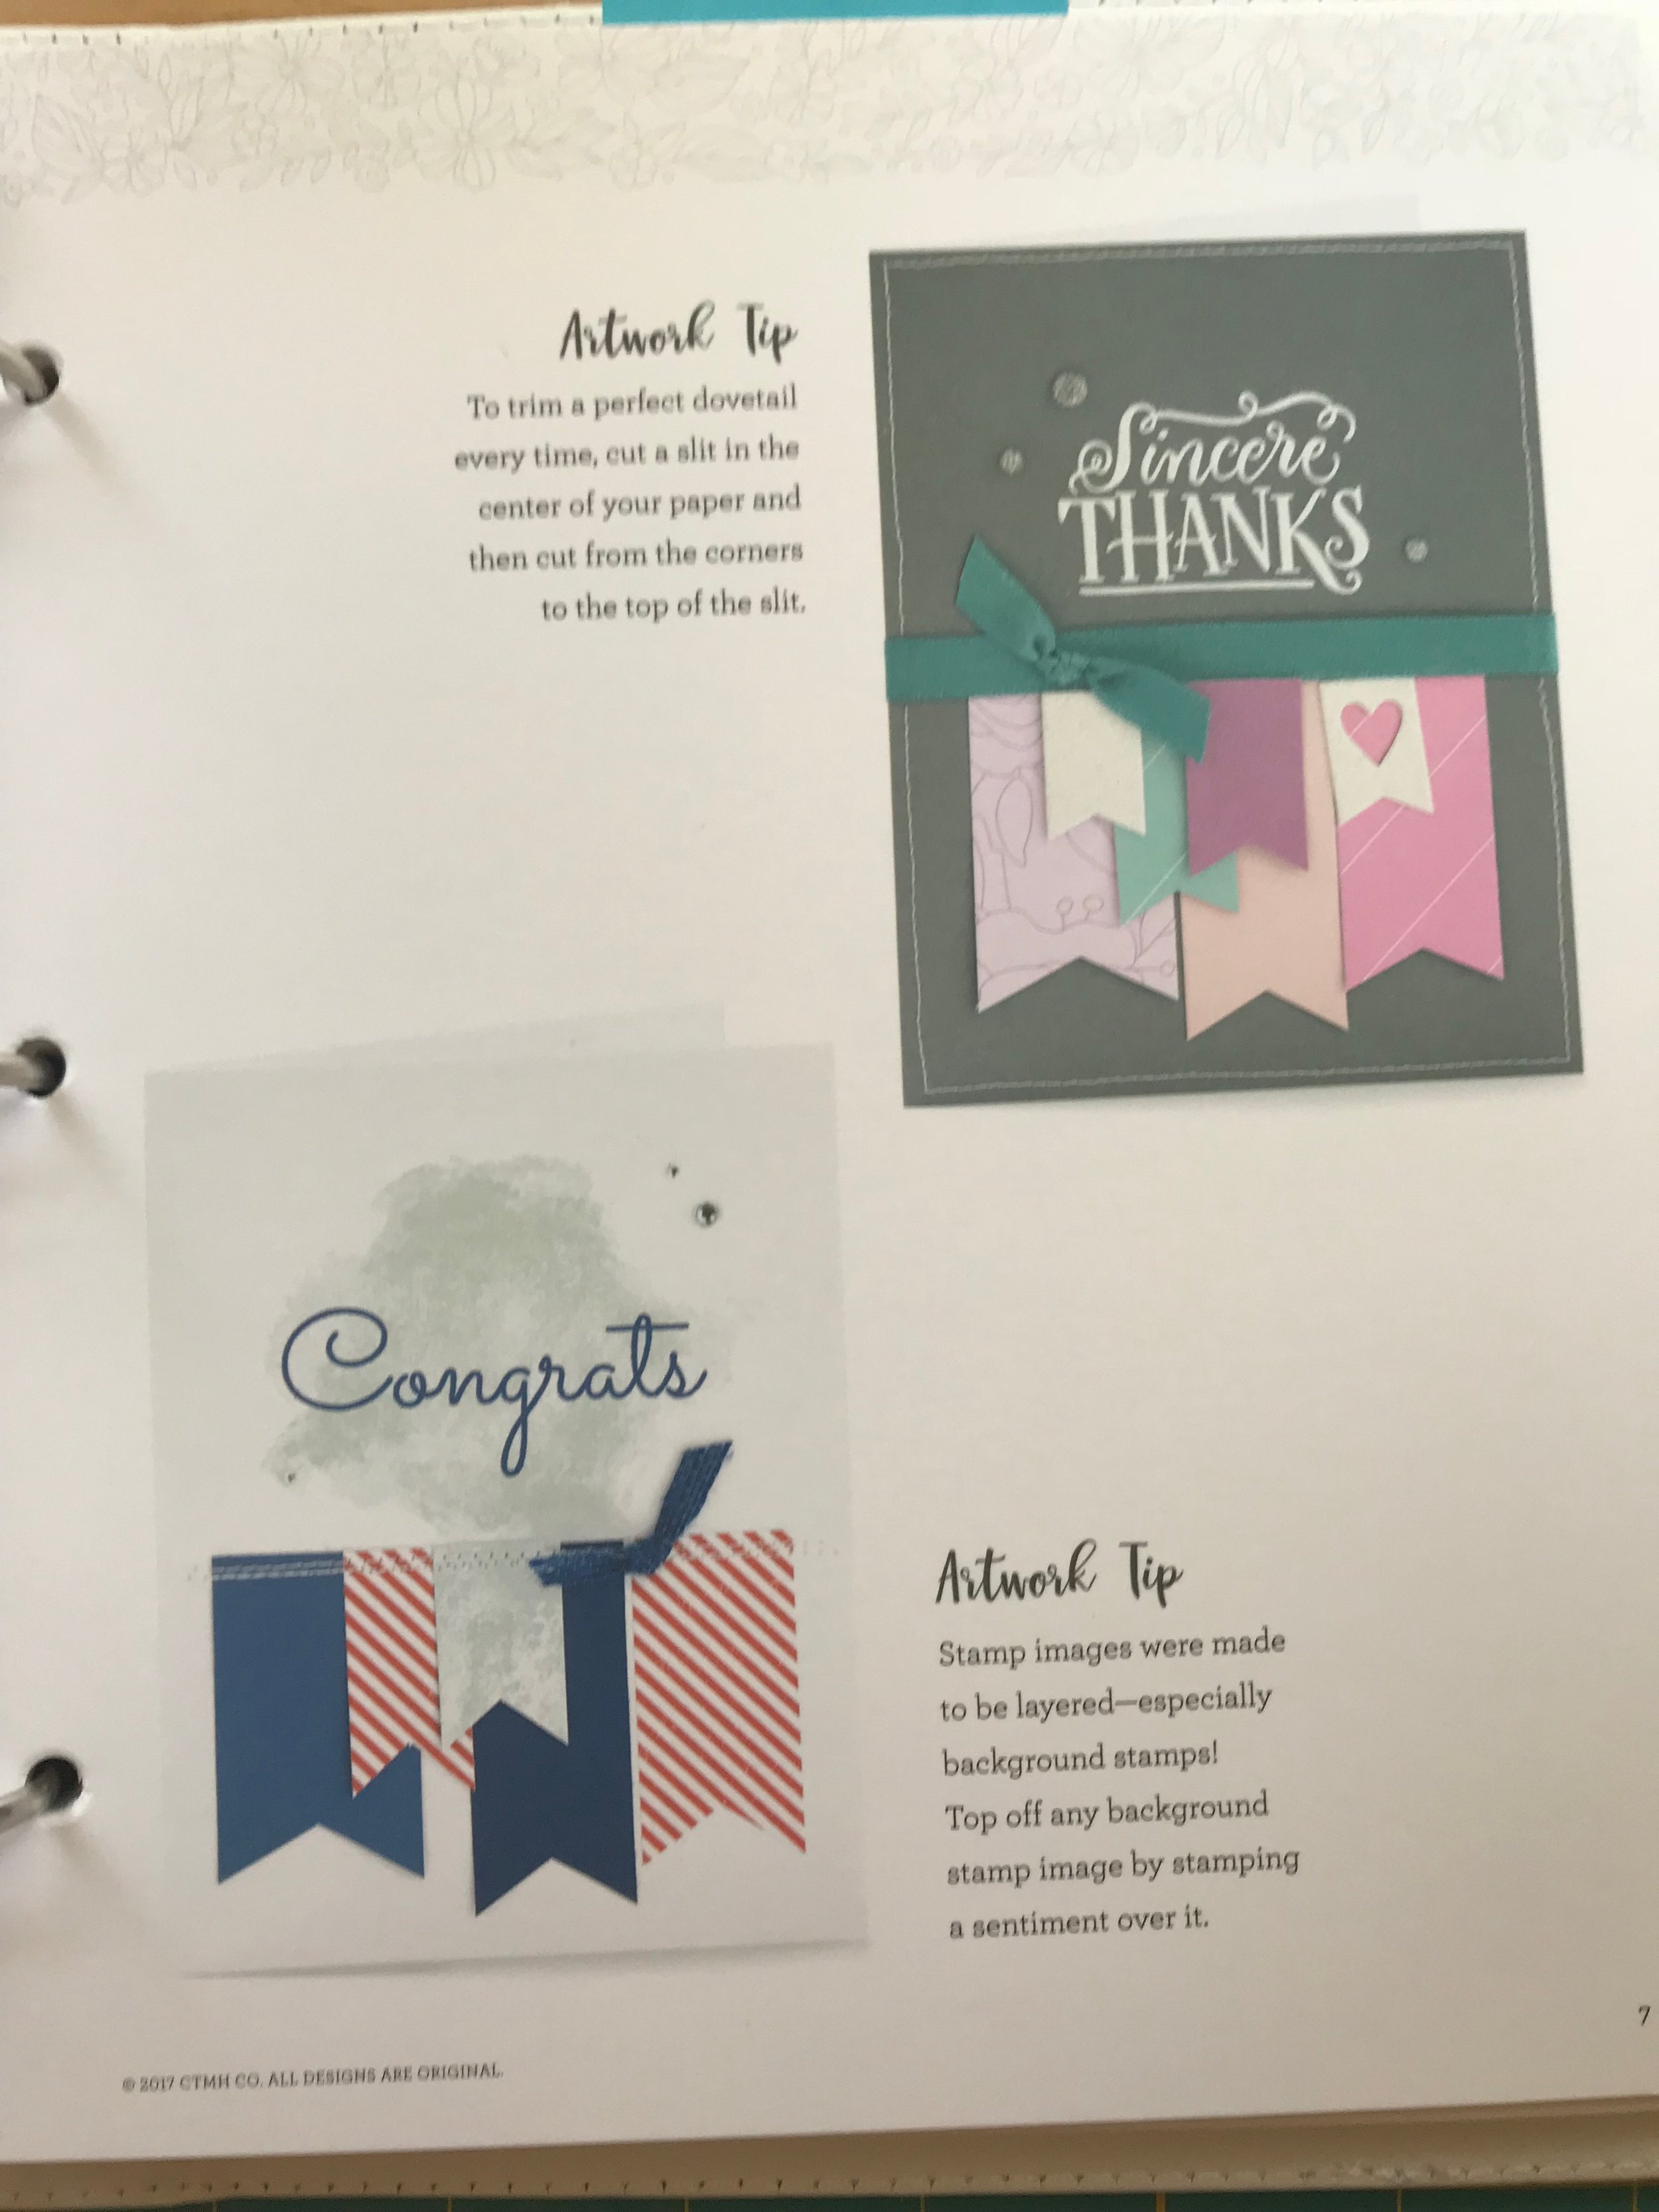
Here's where I got my inspiration for my card. I often turn to sketches to help when I'm in a funk. I use Pinterest, YouTube or other resources like Close To My Heart's Make It From the Heart (Vol. 4). This volume is filled with card sketches and samples. Below you will see what caught my eye for this card.

Make It From Your Heart Vol 4.jpg
Make It From Your Heart Vol 4 Sketch.jpg
Make It From Your Heart Vol 4 Sample.jpg

One I had a plan of attack I needed to gather my supplies. In this case, I grabbed some scrap paper and my CTMH Basic Banners Thin Cuts and started cutting away.

Card Step 1 - cutting out banner p2.jpg

Once I had my banners and bits I started playing around with the layout and chose my "zip strip" for the border.

Card Step 2 - zip strip.jpg

Now that I knew what I wanted to do with my banners I needed to form the top base to my card and lined it up with the banners.

Card Step 5 - laying out pieces.jpg

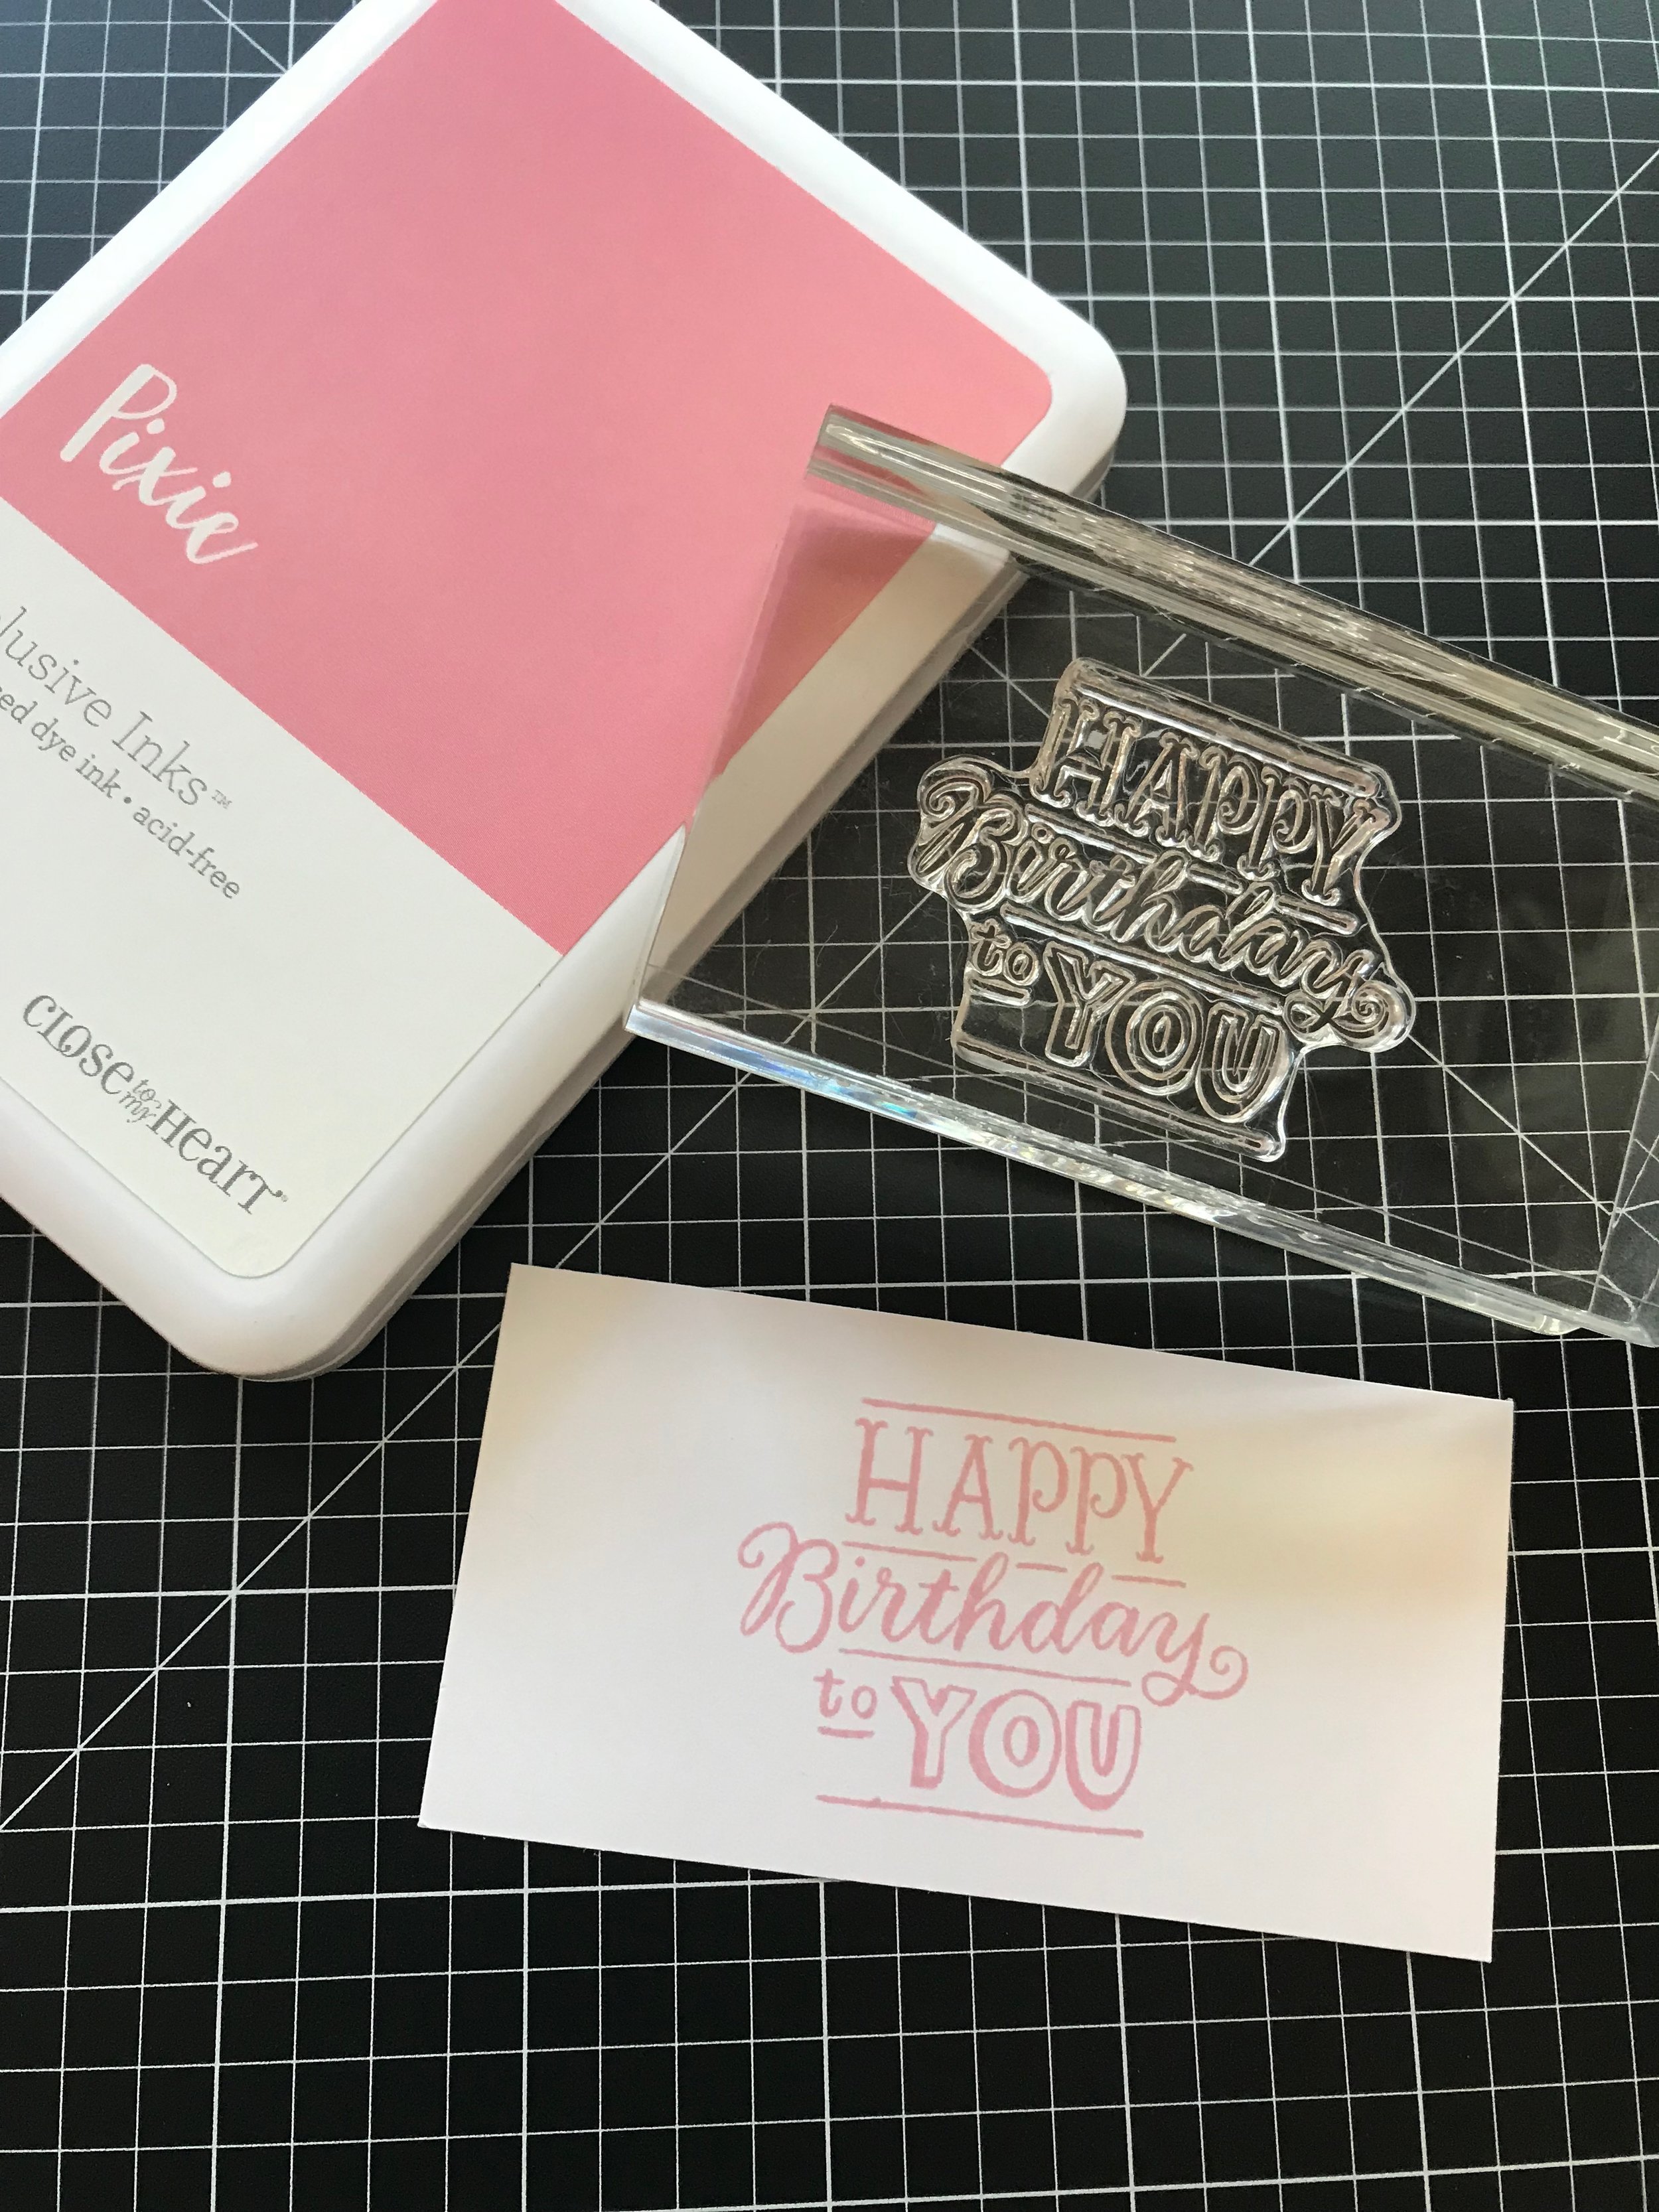
Next, I pulled out my Pixie ink pad and a fun birthday stamp from CTMH's Birthday Sparkles and worked on my card's sentiment.

Card Step 3 - stamping sentiment.jpg

Now for more layering and I'm on my way to being finished.

Card Step 6 - mat for sentiment.jpg
Card Step 7 - adding zip strip.jpg

I always try to decorate the inside of my card. I use something from the main card and, in this case, I had some left over banners. I layered them in the top right hand corner and voila!

Card Step 8 - the inside.jpg

Here are the highlights of the card with some of the supplies. Hopefully this project inspired you to look around for inspiration in sketches to make your next card or scrapbook layout.

Card with basic supplies.jpg

Other than my paper scraps and adhesive, here's the basic supplies I used from Close To My Heart:

Make It From the Heart Volume 4

Thin Cuts - Basic Banners

Birthday Sparkles Stamp Set

Pixie Ink Pad

Koi Fish from logo.png

THINKING OF YOU

Here's a Thinking of You card that I'm mailing to a friend who recently suffered a loss. One of the best thing about my crafting passion is that I can send something I've made with my own hands to express the love and support I cannot often put into words. This particular card was quick to come together using scraps I had on hand. I started with some black ink and a simple Thinking of You stamp from Close to My Heart.

Thinking of You Card (main).JPG

Here's a side angle of the card. While this is not a particularly thick card I had added dimension where I could through the use of the Rose Embossing folder and the small pink pearl. You can easily put something like this together in under 5 minutes...easier and quicker than getting in your car and running out to buy a card. This may not be super fancy but it comes from the heart.

Thinking of You Card (front angle).JPG

I also like to decorate the inside of my cards to carry the theme from the front. All I need to do now is write my note and pop it in the mail.
Thinking of You - Card (inside).JPG

I also love the idea of having a coordinating interior to my envelope. I've come across a Sizzix die set on clearance at Hobby Lobby this weekend and I love how the designer paper pulls it all together. Now I can take my card and envelope value pack to a whole new level.

Thinking of You Card - envie and card.JPG

Have a wonderful day my crafty friends!

Koi Fish from logo.png